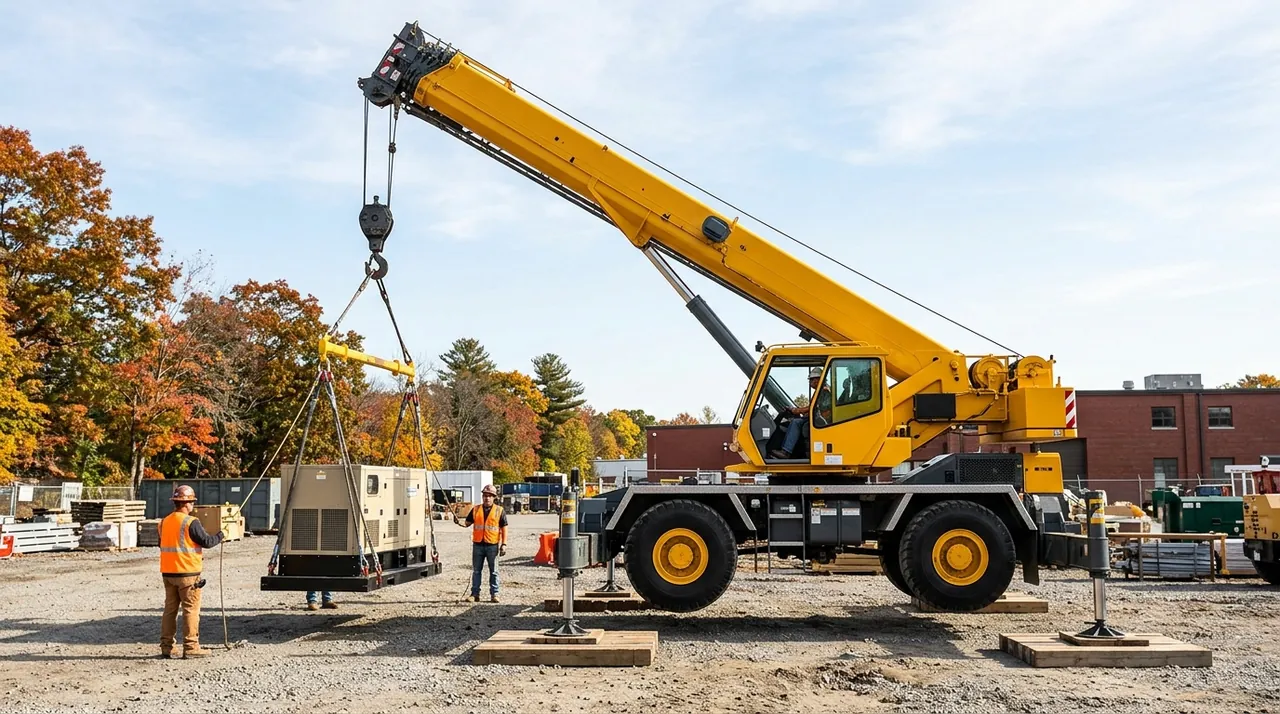
This session consolidates the four core areas the 1B exam draws from: load charts and net capacity, crane setup and stability, operating hazards, and wire-rope inspection. The goal is to apply that knowledge under exam conditions — worked problems, not isolated definitions. If you can calculate net capacity, explain why outriggers raise your rated capacity, name the device that prevents two-blocking, and call a damaged wire rope out of service without hesitation, you are ready.
Load Charts: Net Capacity and the Radius Relationship
The number printed on a load chart is gross rated capacity. To find net capacity — what you can actually put on the hook — subtract every piece of equipment hanging below it: the hook block, the headache ball, and all slings and rigging hardware. Skipping that step is the most common path to an overload, and the exam will test it directly.
Radius is the other critical variable. Rated capacity falls as radius grows, because the overturning moment on the crane's tipping axis increases with every foot of outreach. The working radius at lift-off is not necessarily what you planned: boom deflection under load and load swing both push the radius outward. Use the larger radius when in doubt. Also know the difference between bold and non-bold chart values — bold entries are limited by structural strength; non-bold entries are limited by stability, giving you less margin against tip-over.
Setup, Leveling, and On-Outrigger vs. On-Rubber Ratings
A crane on fully extended outriggers and a crane on rubber are not the same machine for rating purposes. Outriggers widen the base of support, fix the tipping axis farther from the load, and remove the variable of tire flex. That is why the on-outrigger section of the load chart shows higher capacities than the on-rubber section at the same radius. Use the wrong section and you are operating on a false number.
Leveling is equally non-negotiable. Operating even slightly off-level shifts the effective center of gravity toward the low side and reduces rated capacity in that direction. Ground bearing pressure matters too: cribbing under outrigger pads spreads point loads across a larger area of soil. Never skip cribbing because the ground looks solid — buried voids and utilities do not announce themselves.
Major Hazards and the Devices That Control Them
Three hazards drive the majority of serious crane incidents. Power lines are the leading cause of crane fatalities — the arc can travel before contact is made, which is why you must maintain the required minimum clearance from energized lines and never assume a line is de-energized without written confirmation from the utility.
Two-blocking happens when the load block is hoisted up into the boom-head sheaves, putting the wire rope in a bind that can snap it and drop the load. The anti-two-block device stops the hoist before that contact occurs. Never bypass it for any reason — if it triggers, lower the load and reposition rather than defeating the device.
Tip-over is most often caused by overloading at an extended radius, frequently from a missed net-capacity deduction combined with greater-than-expected radius growth. Dynamic and shock loading make it worse: hoisting or swinging too fast multiplies the effective load on the boom. Smooth, controlled movements are what keep you within the chart in practice.
Wire Rope and Rigging: Removal Criteria
Wire rope fails incrementally, and the mobile-crane standard establishes numerical thresholds so the decision is not left to judgment. Running rope must be removed when broken wire count in a single rope lay or a single strand within that lay reaches the specified limit. Rotation-resistant rope has a lower threshold. Commit the numbers to memory — the exam will give you a count just below or at the limit to test whether you know the rule.
Beyond wire count, certain conditions trigger immediate removal regardless of numbers: kinking, birdcaging where strands have spread from the core, heat or arc damage, prior contact with an energized power line, and diameter reduction beyond the allowed percentage. On rigging: sling angle matters. As the angle between a sling leg and vertical decreases, tension in that leg rises sharply. Very shallow sling angles dramatically reduce the effective working load limit — use a spreader bar when load geometry would otherwise force a shallow angle.
Key Takeaways
- •Net capacity is gross chart capacity minus all rigging below the hook — never compare the chart directly to the load weight alone.
- •Outriggers widen the tipping axis and produce higher rated capacities than on-rubber at the same radius; use the correct chart section for your actual setup.
- •Power lines are the leading cause of crane fatalities — maintain required clearance and confirm de-energization in writing before working within that distance.
- •The anti-two-block device must never be bypassed; if it triggers, lower the load and correct the geometry.
- •Remove wire rope immediately for broken wires at or above threshold, kinks, birdcaging, arc damage, power-line contact, or excessive diameter reduction.